Host your Hugo site on Azure Storage
I’m a big fan of Static Site Generators (SSGs) for basic websites like this blog. By removing all the moving parts we can host blazing fast sites directly out of Azure Storage at very low cost.
In this post I’ll cover how to host a static website created with Hugo under a custom domain using Azure Storage (Static Sites) and Cloudflare which is automatically deployed from GitHub using Azure DevOps.
The process
When a change checked in the site is automatically generated and deployed. I use this process to manage my blog. Each time I add a new post it’s automatically pushed live. If you want to check out the source it’s all hosted here on GitHub
Set up Azure Storage to serve your static files
First create a new Azure Storage Account and enable “Static website”
Set your default file to index.html - this is what gets served by default if the directory itself is hit, rather than a specific file.
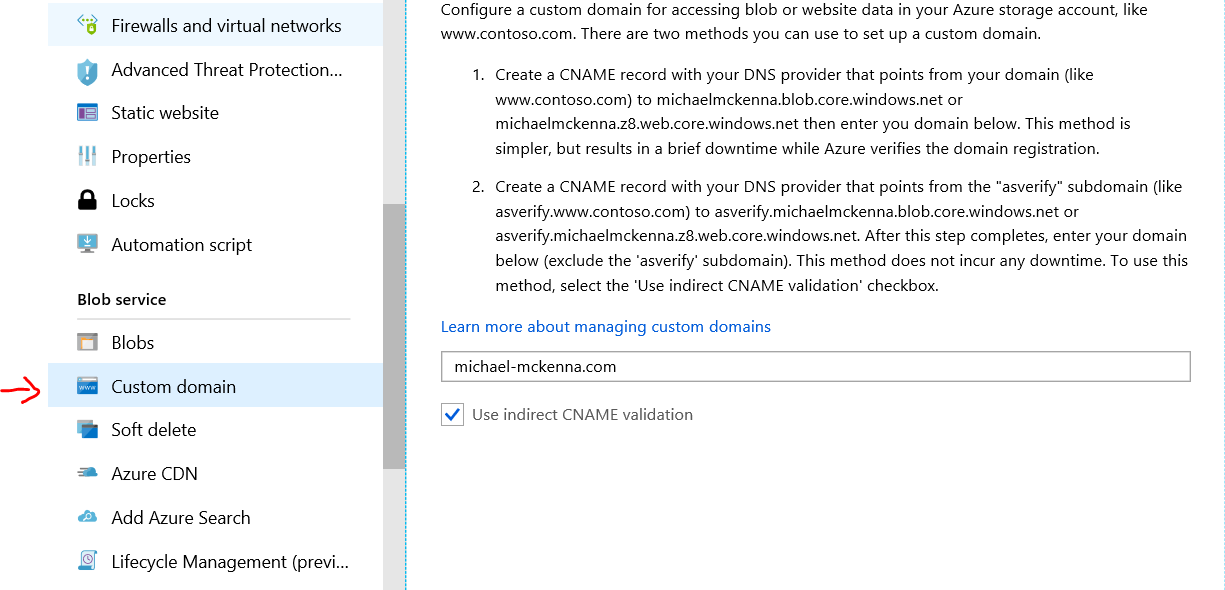
On your DNS provider add the required asverify records and add your domain as a “custom domain” to your Auzre Storage Account.
Once you’ve successfully added the custom domain, go ahead and the required CNAME record.
Note: Normally you cannot CNAME from the APEX record, in this case we’re using Cloudflare’s CNAME flatterning feature to support the APEX domain e.g. https://michael-mckenna.com - this can be a good or bad idea depending on your use case - other services may have other tools that do the same thing such as “ALIAS” records
Set up CDN for HTTPS support on your custom domain
Here we’re using Cloudflare but in practice you can use any CDN that supports HTTPS on custom domains e.g. Microsoft Azure CDN
Once we have delegated our nameservers to Cloudflare all we need to do is add a CNAME record that points to the URL for your static website (it will look like {azure storage account}.z8.web.core.windows.net)
Cloudflare will provide a SSL certificate (for better or worse) and you’ll be ready to start uploading your static files.
Set up Azure DevOps to build our site on check-in
We need to generate the HTML and other resources that make up our static site on checkin and deploy those files to Azure Storage.
In this process I’ve decided to checkin the Hugo binary, but alternatively you could just add an eariler step to download the binary if you don’t want it checked in.
The Hugo source for my site is located in the blog directory - if your strucutre is slightly different just update the paths as necessary (e.g. you probably wouldn’t have it in a subdirectory if you were downloading the hugo binary).
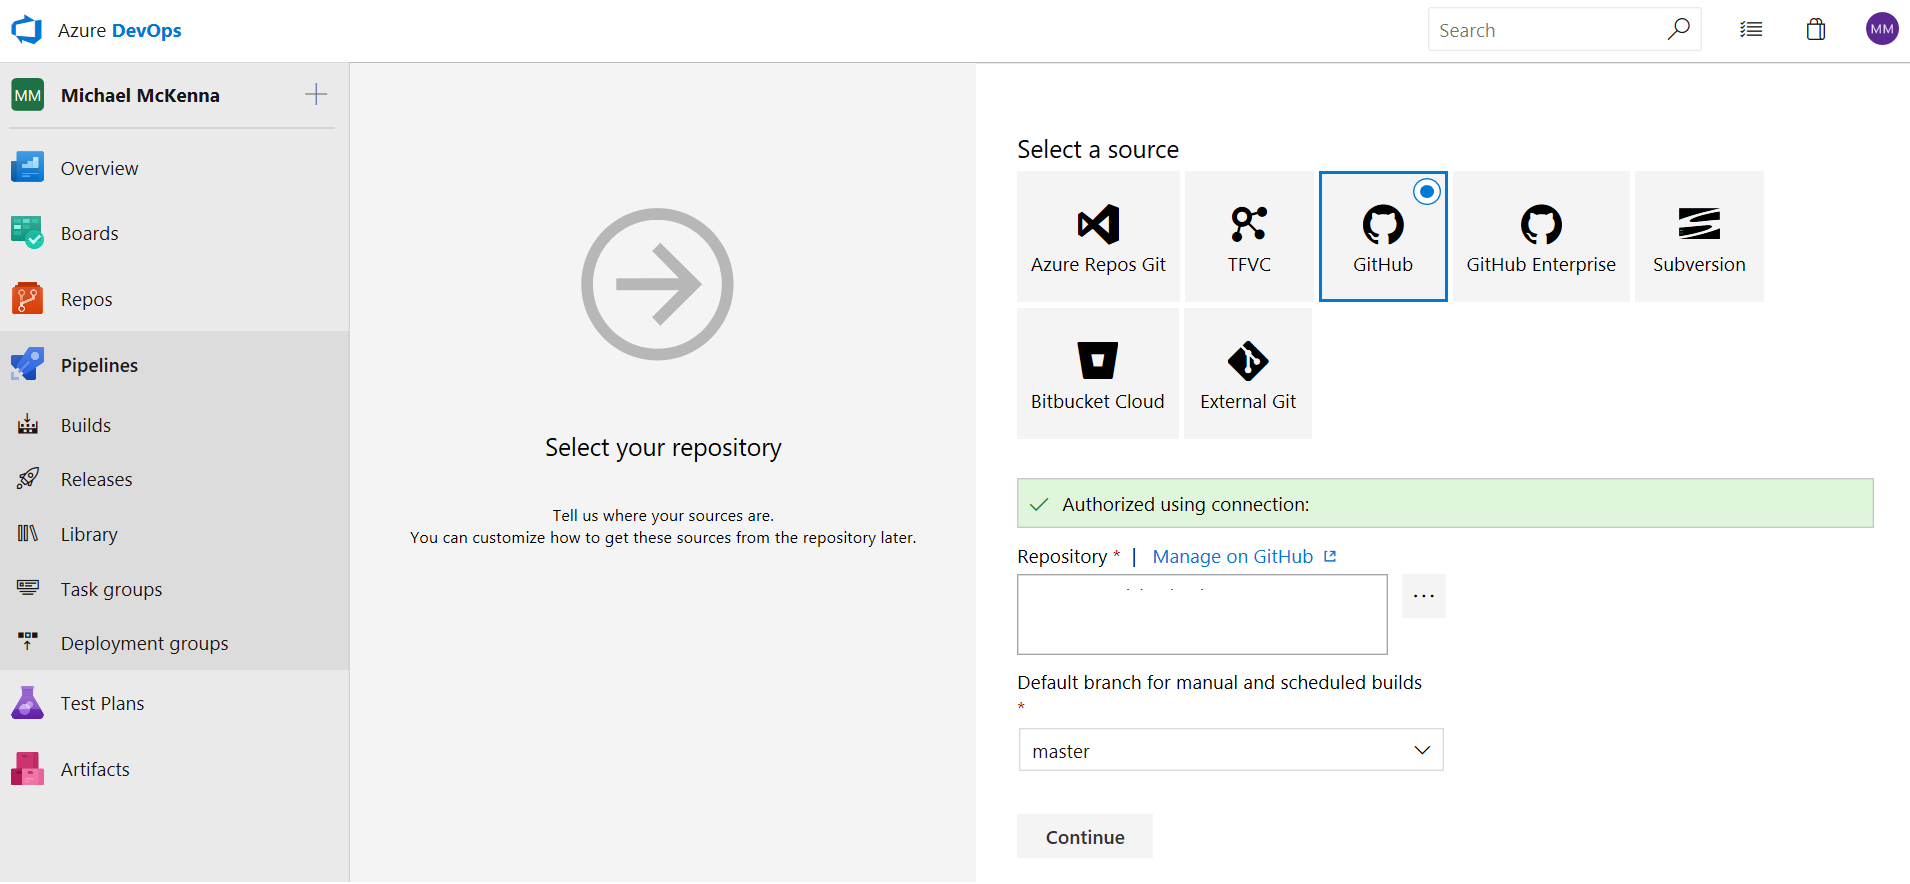
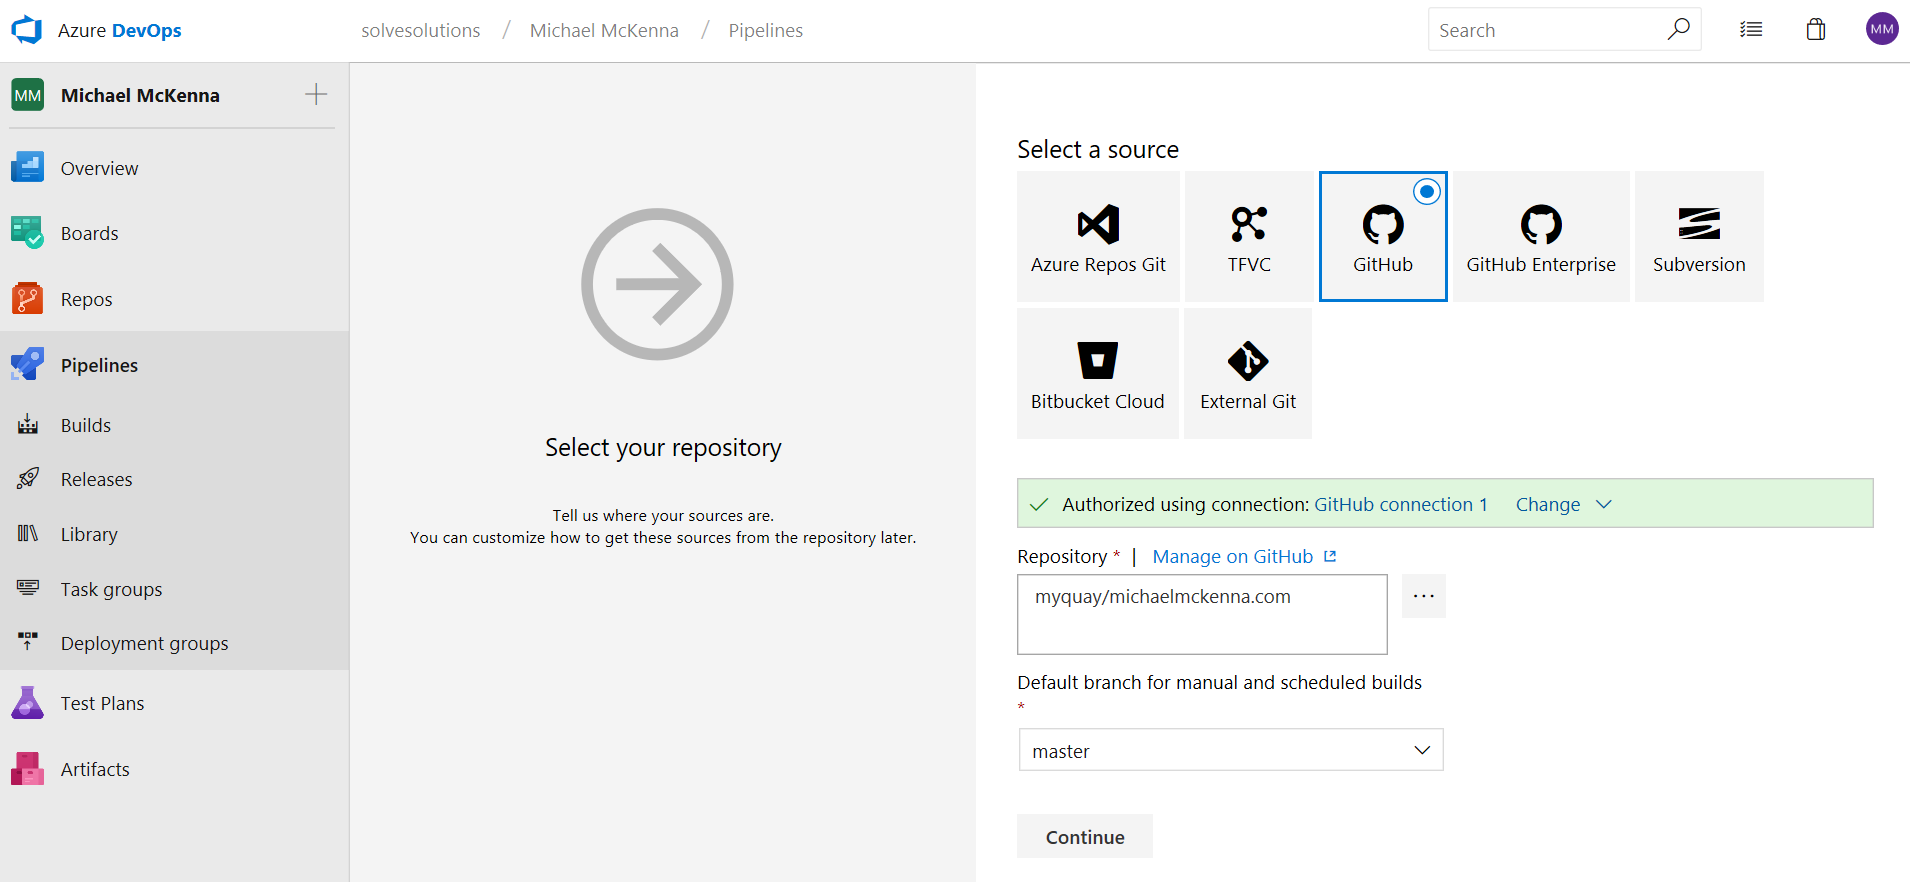
First create a new pipeline and connect it to the GitHub repository which contains your blog (remember to enable checkout submodules if you’ve added your Hugo Theme as a submodule).
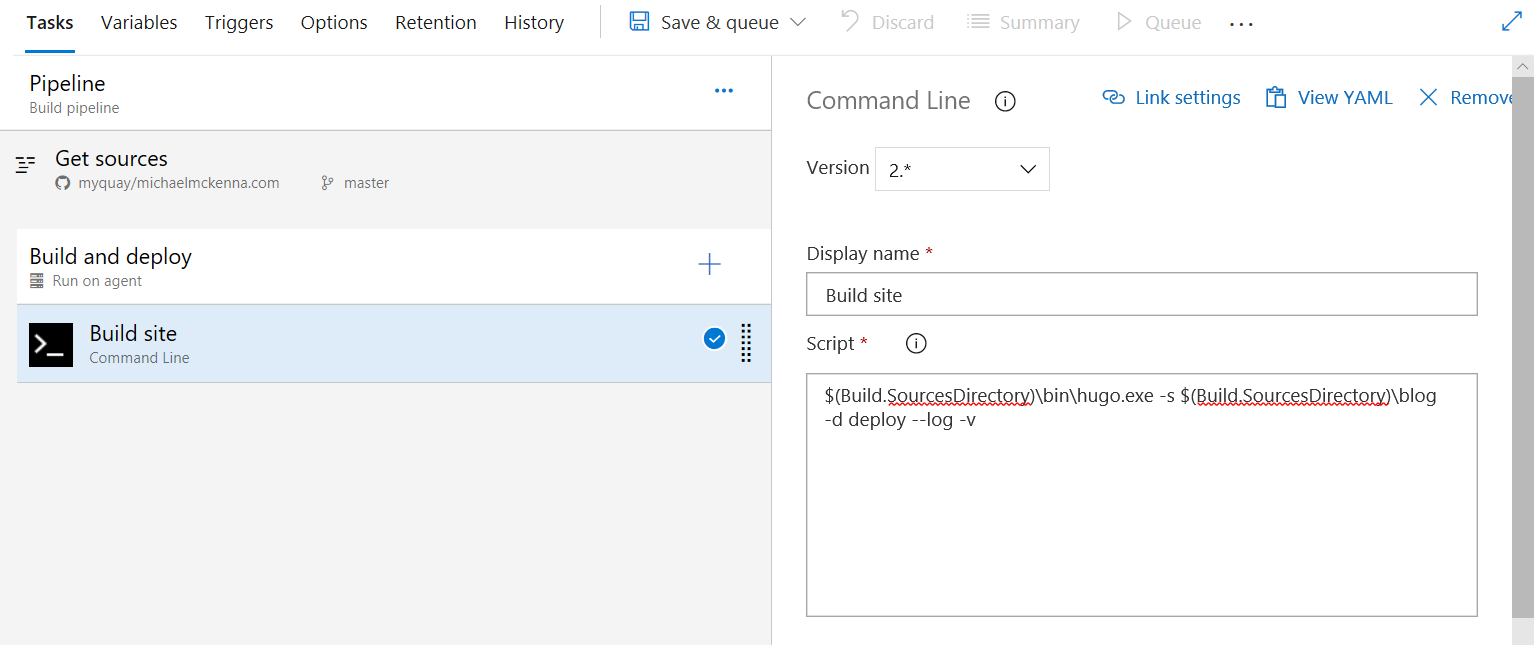
Next add a step that generates our site. Add the Command Line task and enter the following to use hugo.exe to compile our site .
$(Build.SourcesDirectory)\bin\hugo.exe -s $(Build.SourcesDirectory)\blog -d $(Build.ArtifactStagingDirectory) --log -v
**$(Build.SourcesDirectory) **is the directory our sources are kept in. $(Build.ArtifactStagingDirectory) is the local path build artifacts are kept before being pushed to their destination. We use the -s argument to specify the location of the source files for the blog and the -d argument to specify the location of the generated site.
Next we add the Publish Build Artifacts task to publish the generated static site files ready for deploy.
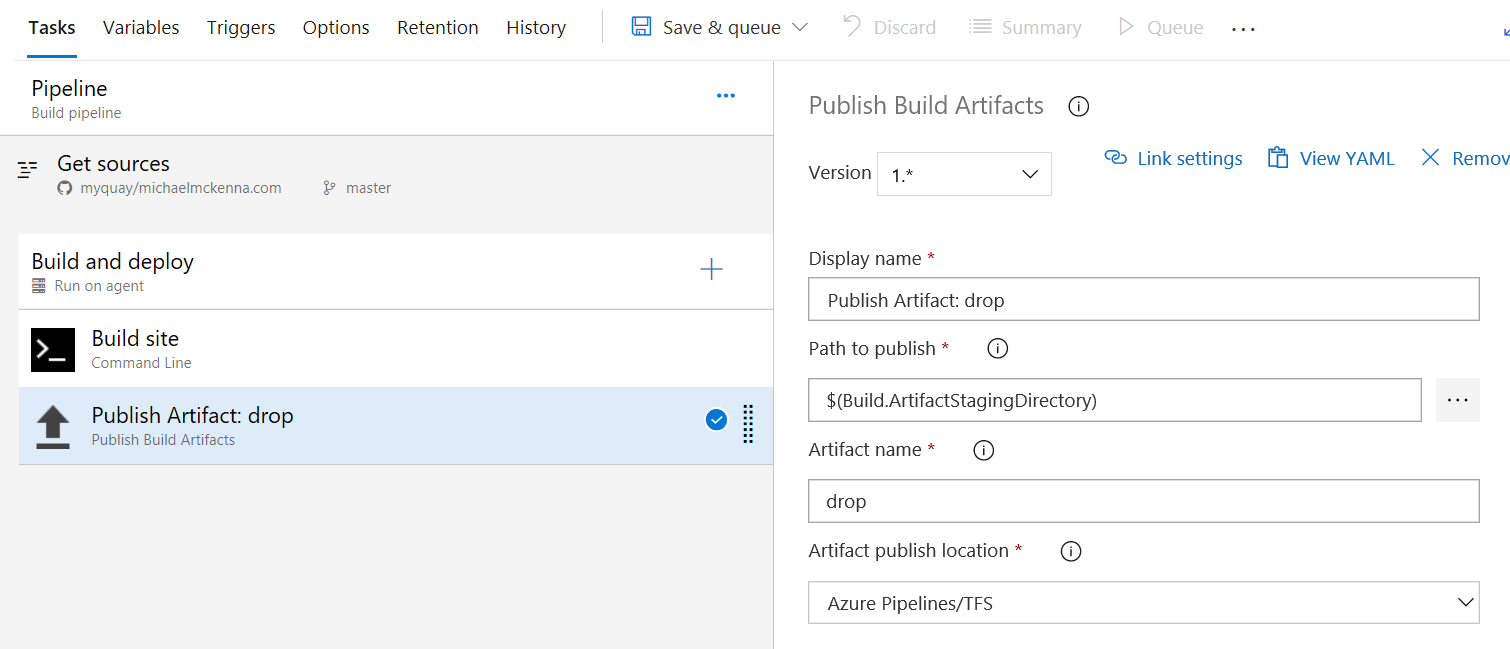
Finally we enable continious integration so the site is built everytime we change something.
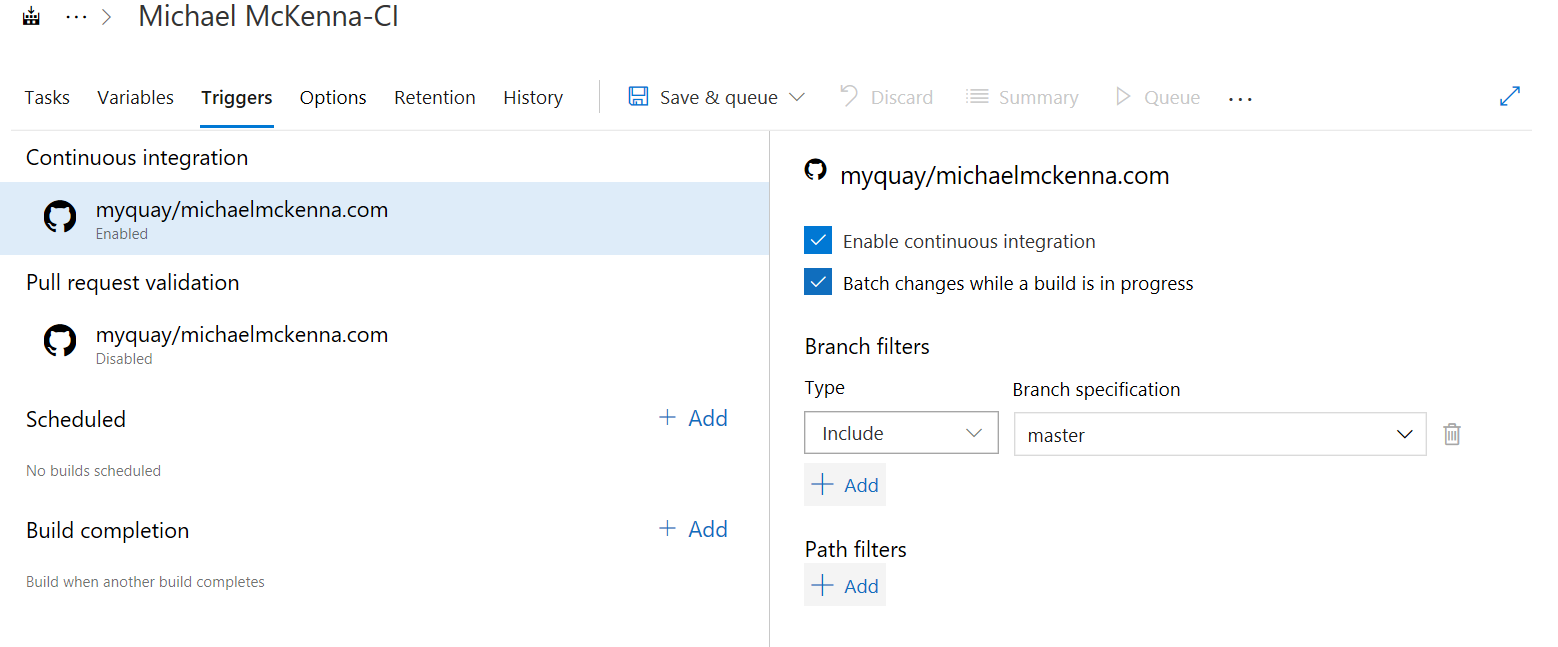
Okay - now your blog should be building! All that’s left is pushing the release live.
Set up Azure DevOps to release our site
You could set up a full staging/ production type scenario with sign-off etc, which could be useful if you have a company blog where the site needs a proper approval process and it’s not realistic to get the editorial team to manage it using pull requests.
But we are keeping it super simple where all successful builds go straight to production because realistically the cost of deploying a mistake is so small on my little blog compared to the overhead of an intense process.
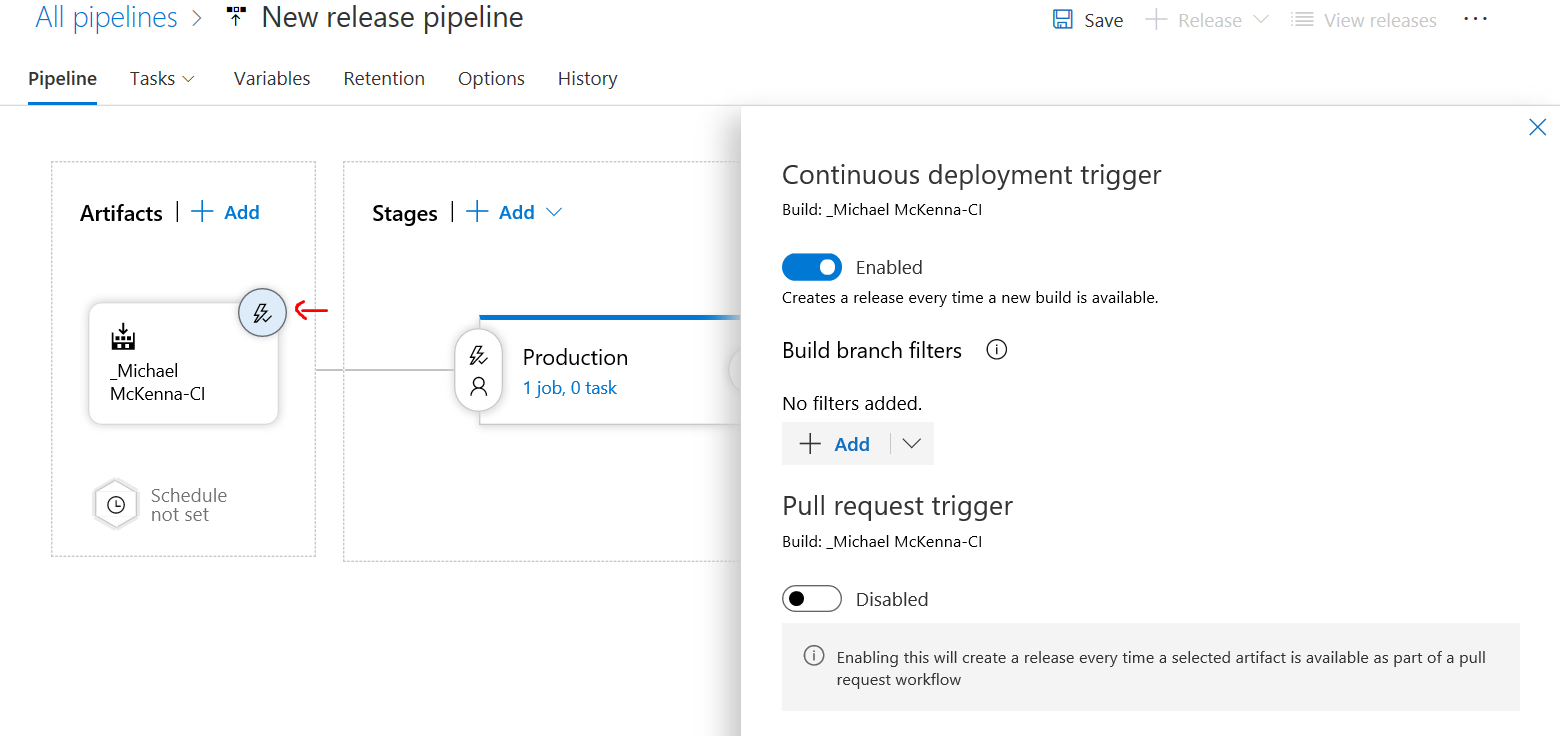
First create a new release pipline and choose the build we just created as the release artifact. If you want the release to go out automatically remember to enable the continious integration triggger.
Finally add the Azure File Blob Copy task and copy the files we generated in the drop folder and publish them to the special $web container which Azure Storage uses to serve static site content from.
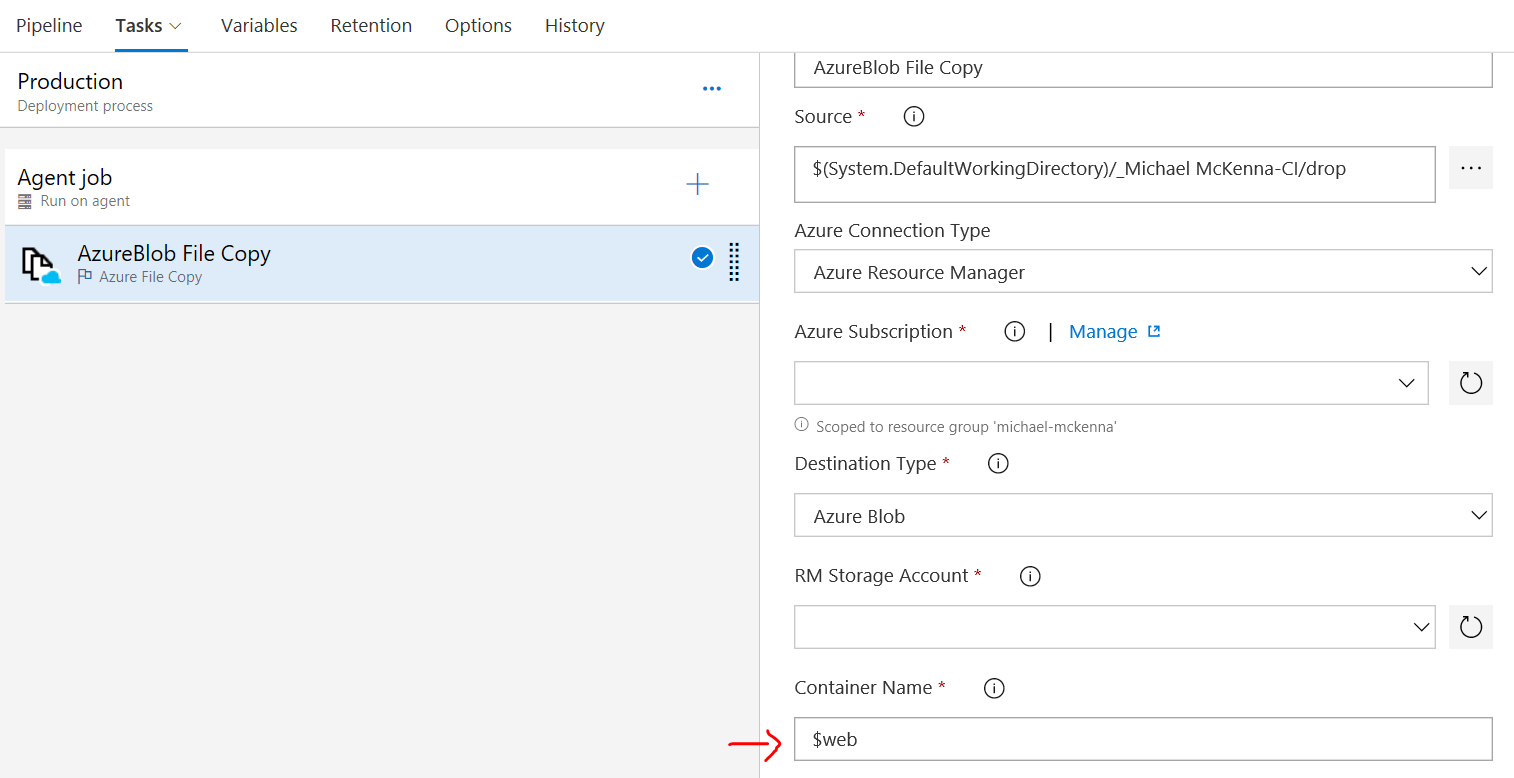
Note: Make sure you use the 2.* (preview) version as that uses a version of AzCopy which supports the special $web container: see this issue
All done!!
Whenever you check in a new blog post or new styles a build will kick off and deploy an update to your site, which is hosted directly out of Azure Storage.
